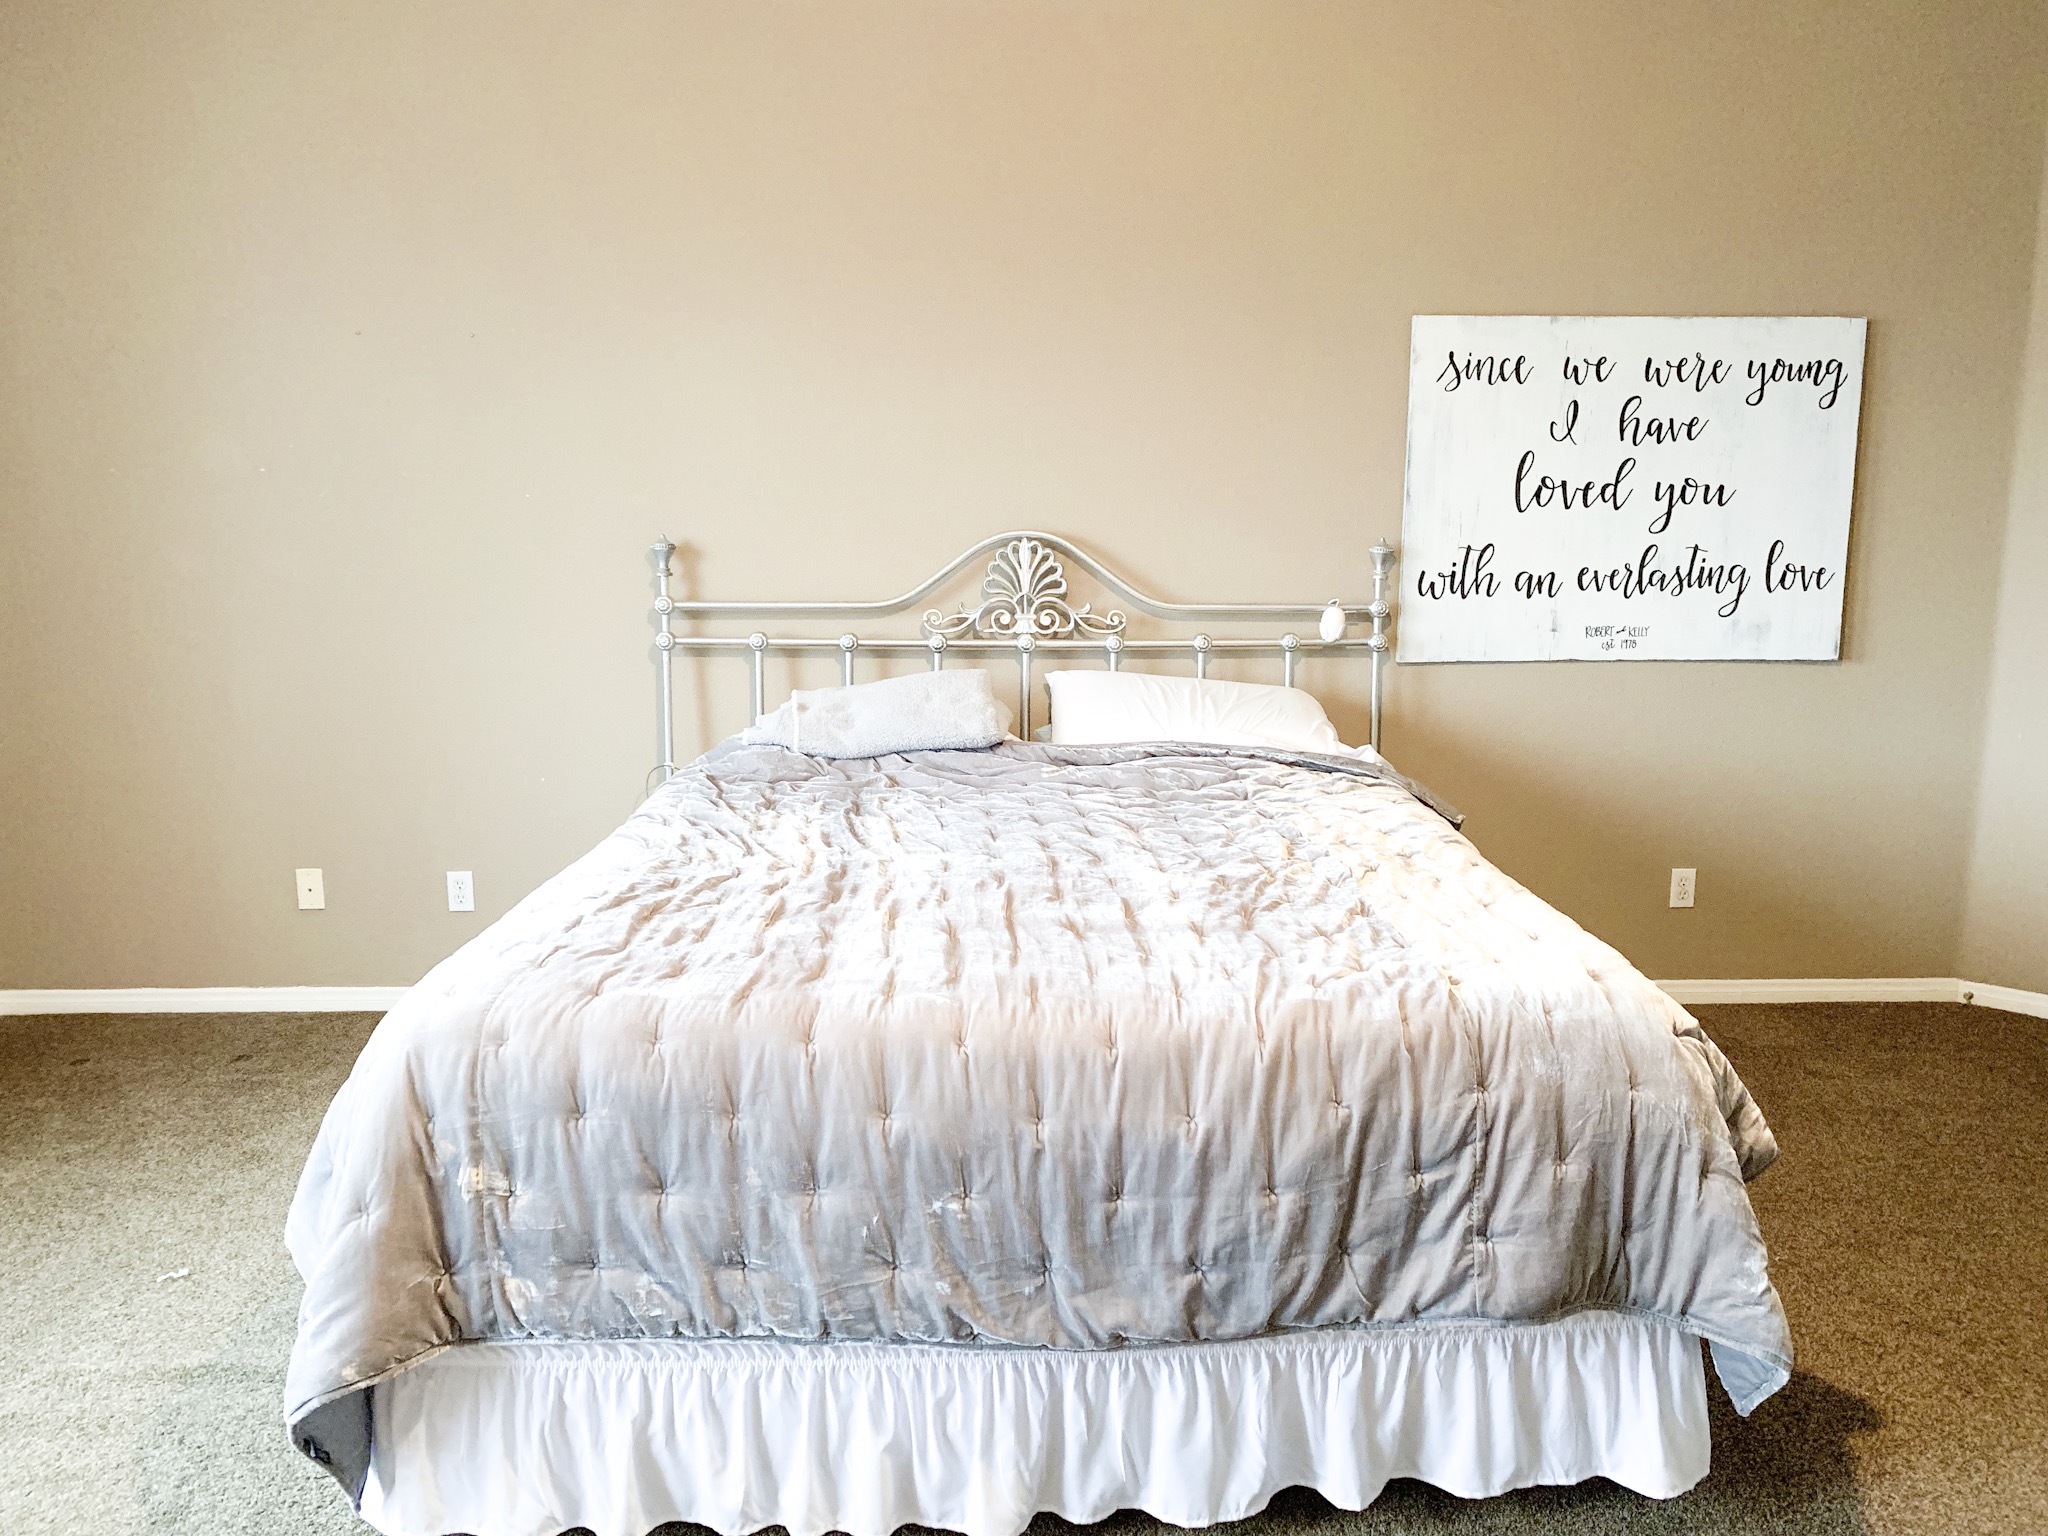
I saw it…and I knew this would be our next project. Scrolling through Insta, my fingers came to a dead halt. My eyes were doing a happy dance. I carefully (at my age anything I do I need to do carefully) raced downstairs, caught my breath – again, age related – and said “Look, we can do this in our room! Won’t it look amazing?!” Oh my poor, poor husband. Without skipping a beat or even looking up he says “what now my love?”
Off to Home Depot we go. 5 Faux brick panels – joint compound – putty knives -liquid nails – gummy worms. Once home one of the first things we need to do is measure where the studs are and then nail gun one panel up at a time. So, feel free to scroll down to the photos and notice the one with a very tall ladder and a step ladder. The step ladder is about 100 years old. A bit rickety and probably not the sturdiest tool in the shed! We get the first panel up, nail gun it to the wall! Yes! Success…move on to the second panel. As we hoist up the panel with me on the step ladder and him on the tall ladder, we find we are needing to ‘’butt’’ the two panels together which means I need to make a long reach (think stretch Armstrong – again, I’m aging myself with that analogy) to grasp the far side of the panel while Robert holds it up. This is where the rickety step ladder comes into play. As physics would have it, as I’m S-T-R-E-T-C-H-I-N-G across and pushing the panel in the opposite direction as my feet when all of a sudden my life flashes in front of me and in slow motion, the step ladder jumps out from under my feet and I ever so slowly go crashing to the ground narrowly escaping my head hitting the metal ladder and splat…down on one ankle and bruise the other! I’m ok! Just let me lay here a minute before I check to see if my ankle bone is protruding from my skin. Yep, I’m ok. Just a minor bruise. Let’s keep going but lose the rickety ladder!
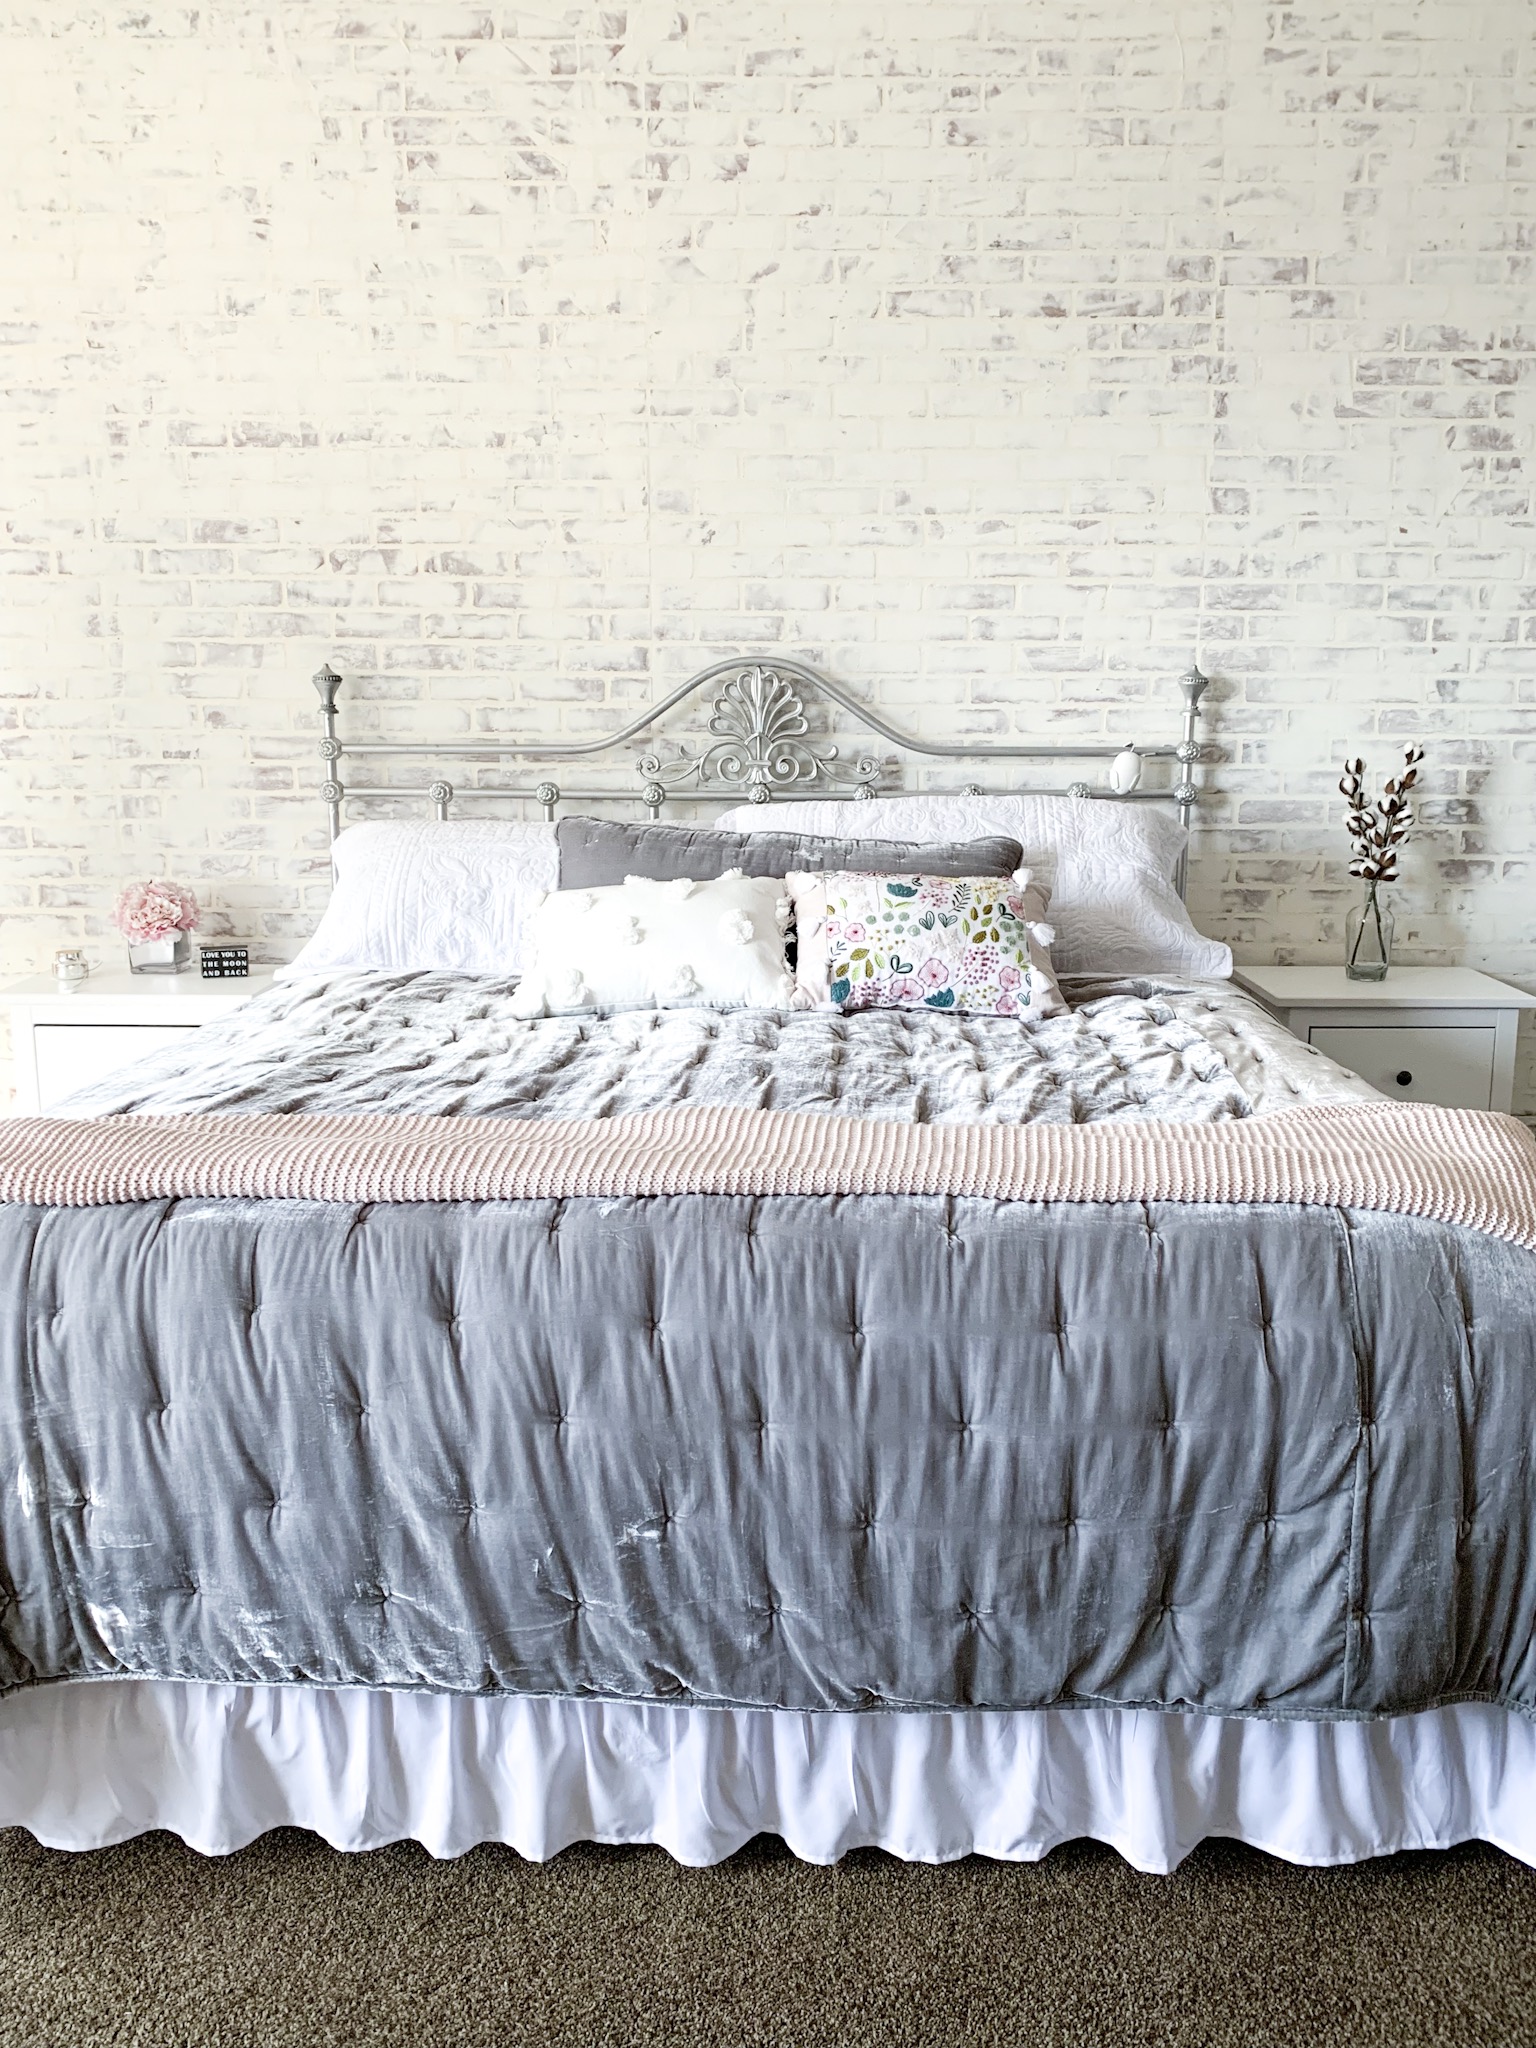
We get all panels up, cut the custom pieces to fit, and finish with the panels! Now its time to apply the joint compound. I started out slopping the compound in a ziplock baggie, cutting a hole at the corner to apply in the grout lines of the brick, but found that was too messy and it was just easier to put onto the large spatula (fine, putty knife) directly from bucket to panel. This went fairly smooth and I figured I would just do this step myself so as to keep the spreading of compound looking uniform. That was fine and dandy until my fingers started falling off. I literally saw them falling onto the floor. I called in backup and Robert started applying the compound as well. (After a quick rest, I was able to put my fingers back on). This did make the process go by faster, but what we learned, and unfortunately it was AFTER we were all done, is that when the compound is first applied (ie: not dry yet) it will look like not enough of the red brick is covered. I was looking for more of the white showing vs more of the red showing. So I applied thicker coats of the compound. So some spots are a bit more thick with the white. But thats ok. I still love how it looks! And next time, we will know better. (Next time?!)
The whole process took about 6 hours, which I don’t think is too bad considering we are major amateurs at this! Oh and if you are going to do this in your bedroom, you might want to consider sleeping in another room or on the couch for a day or two after. The joint compound, when slathering bucketfuls of it on your wall, WILL leave a strong odor.